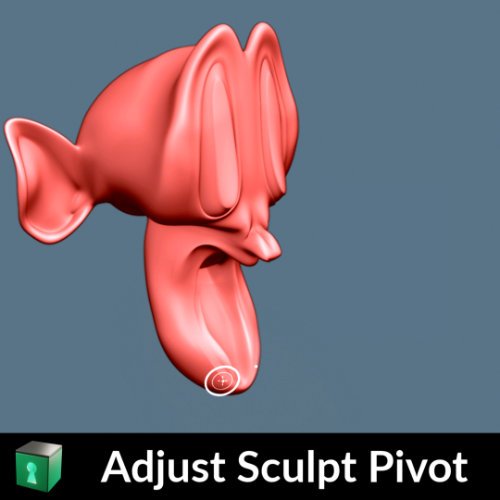
Move the Pivot Point in Sculpt Mode
In Sculpt Mode, it can be useful to move the Pivot Point. But it may not be so obvious, how to do this. There's a couple of ways to do it, and this video explains how!

Blender's Sculpt Mode is a powerful tool for creating and refining complex 3D models. One feature that can come in handy when working with sculpting is the ability to move the Pivot Point. The Pivot Point is essentially the center of rotation and scaling for the selected object or mesh, and it can greatly affect the way that you sculpt.
When you first enter Sculpt Mode, you may notice that the Pivot Point is set to the center of the mesh. However, this may not always be the most ideal location for sculpting, particularly if you want to scale certain parts of the mesh from a different point. Fortunately, Blender provides several methods for moving the Pivot Point.
Mask Expand
One way to move the Pivot Point is by using the Mask Expand function. To do this, use the Mask Expand tool (Shift+A) over the area where you want the pivot point to appear. After that, just clear the mask with Alt+M. Note that you can also use the Face Set Expand function for this, but that creates a new Face Set as a result, which may not be what you want. The mask can be easily cleared, making it the preferred option.
You can read more about the various Expand options here.
To see what else you can do with masks in Sculpt Mode, read this.
Custom Keyboard Shortcut
Another way to move the Pivot Point is by setting a custom keyboard shortcut for it. Blender allows you to assign any function or command to a keyboard shortcut, so you can create a shortcut specifically for moving the Pivot Point. The above video shows you how to do this.
Benefits
The benefit of being able to move the Pivot Point in Sculpt Mode is that it gives you greater control over the way that you sculpt. By being able to scale parts of the mesh from different points, you can create more organic and natural-looking shapes. This can be particularly useful when working on complex models, such as characters or creatures, where subtle variations in scale can make a big difference in the final result. With a little practice, moving the Pivot Point in Sculpt Mode can become an essential part of your sculpting workflow.
Read more sculpting tips here.

